
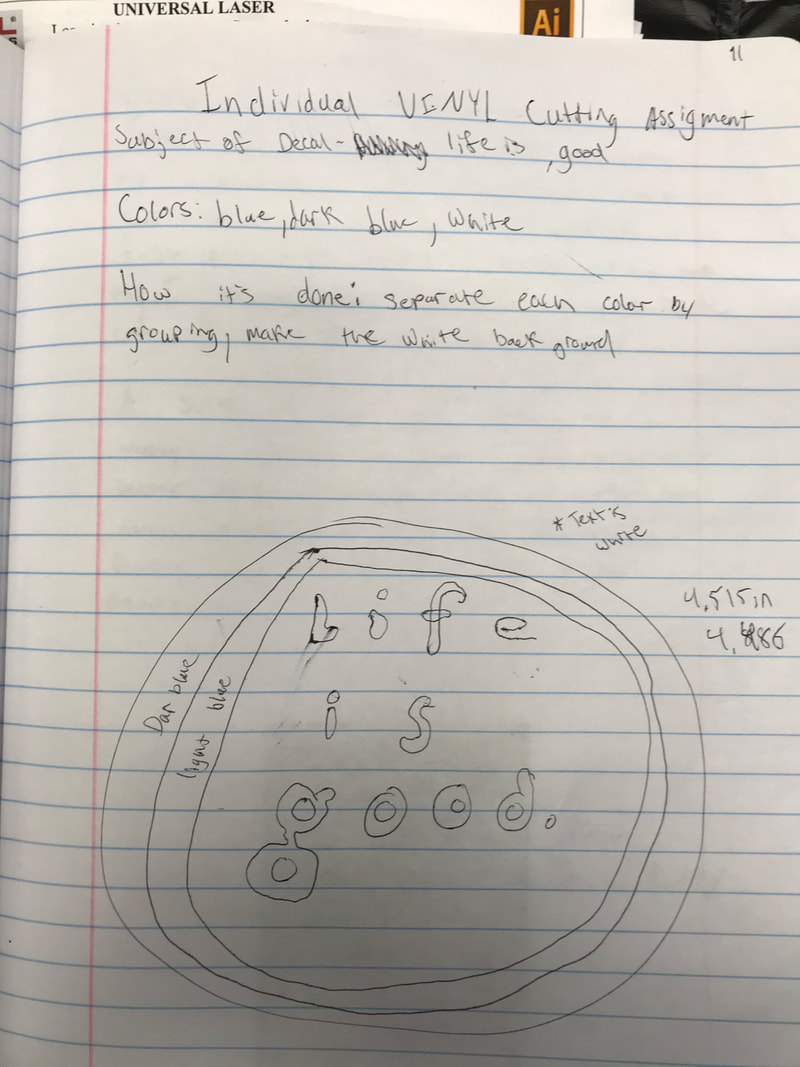
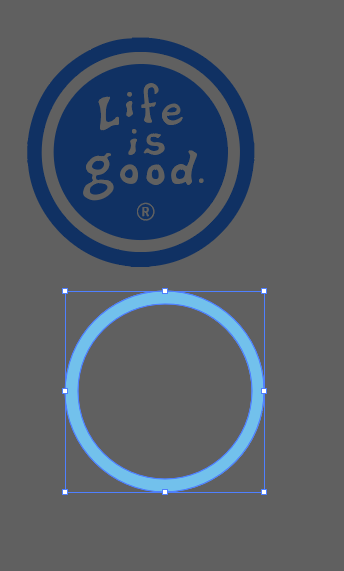
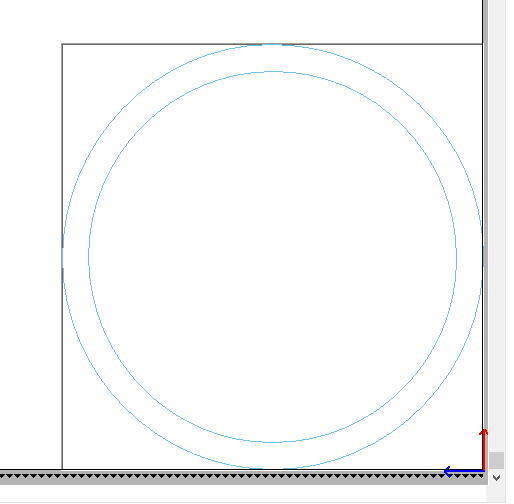
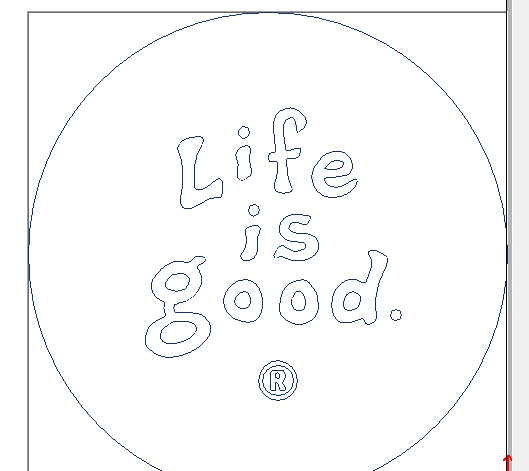
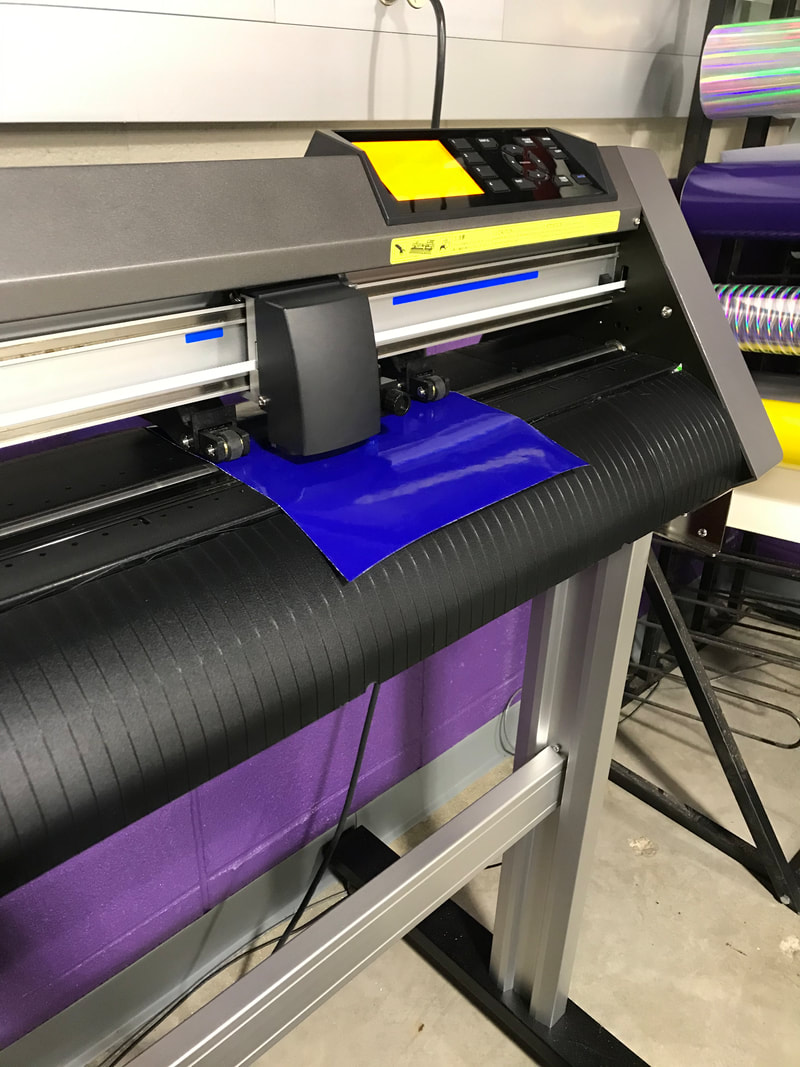
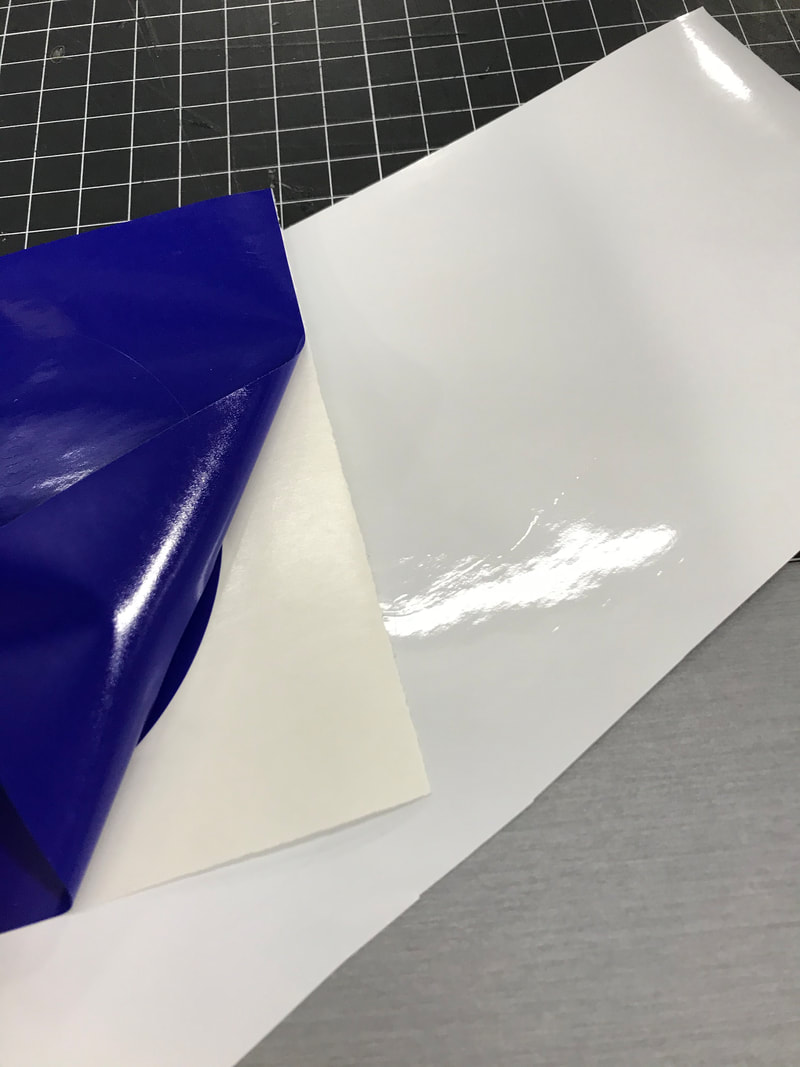
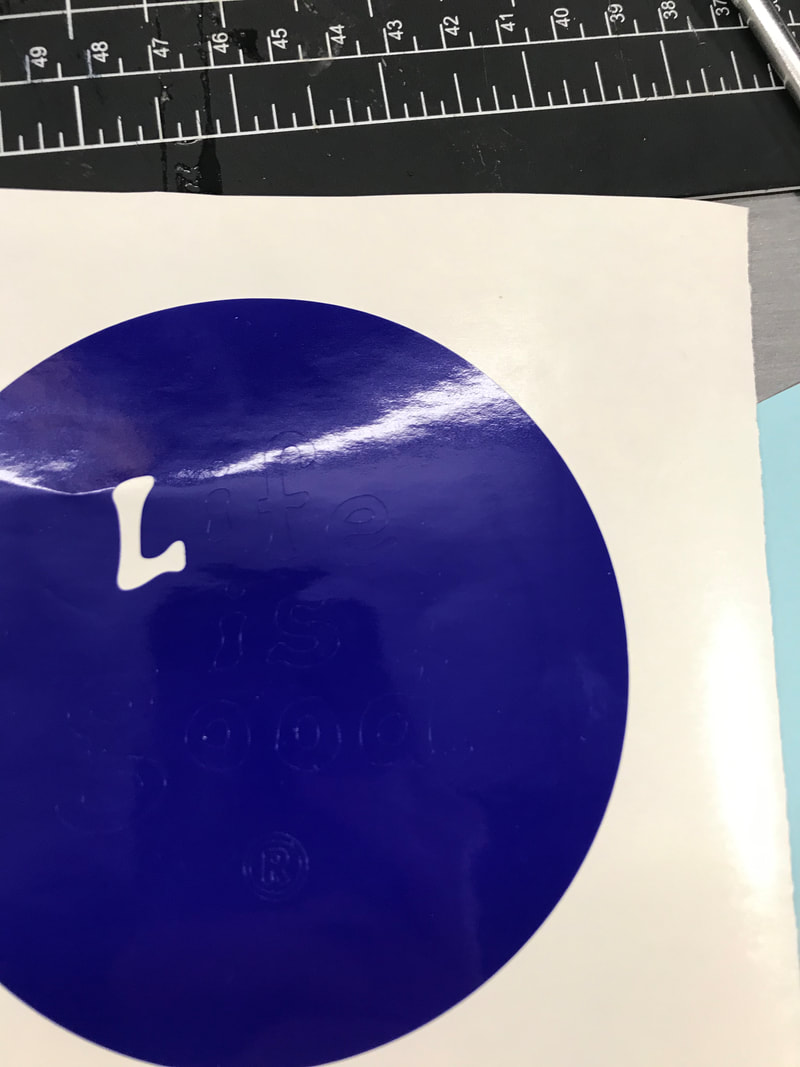
The first step I took was doing research in my designer notebook. Here is where I came up with my idea for my decal and planned out how I would make my decal. I then found an image and put it into adobe. Once on adobe, I separated the colors for the vinyl by grouping them together. I then saved my decal to my flash drive and went down to the vinyl cutter. I opened my decal on the computer in the lab on illustrator and then to cut master 4. Before I hit start I put the vinyl in the cutter and then hit start, then I waited for it to cut. I repeated this process for all 3 of my colors.
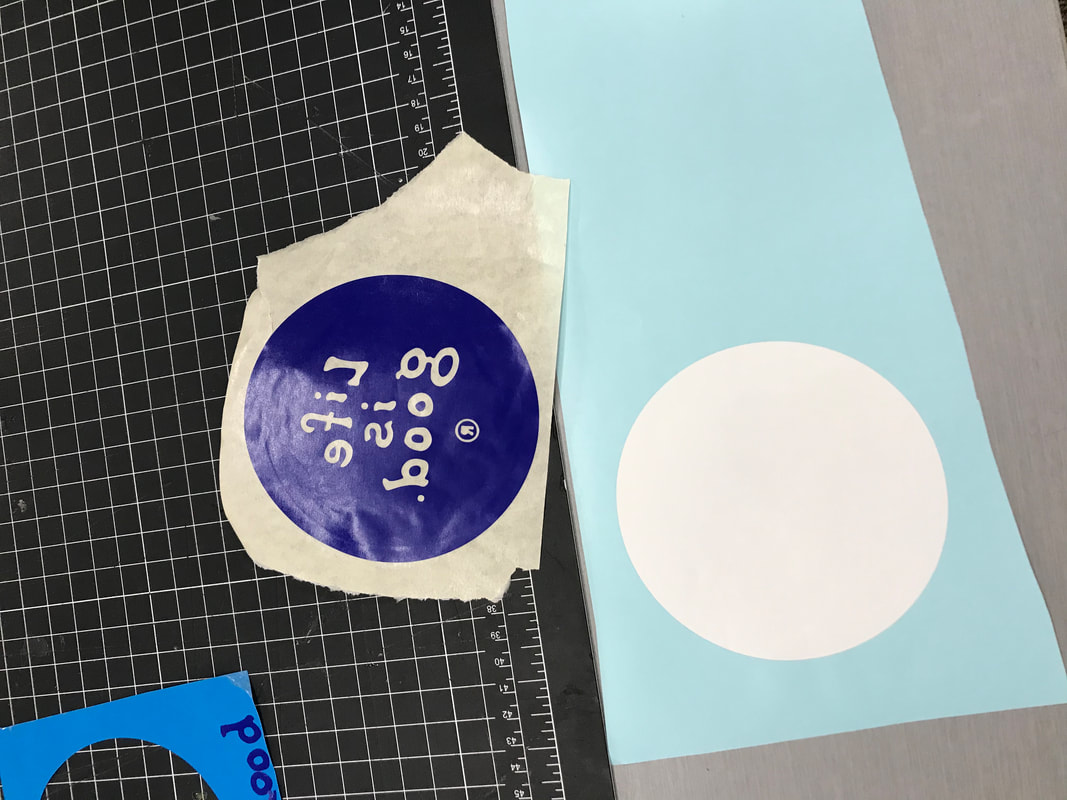

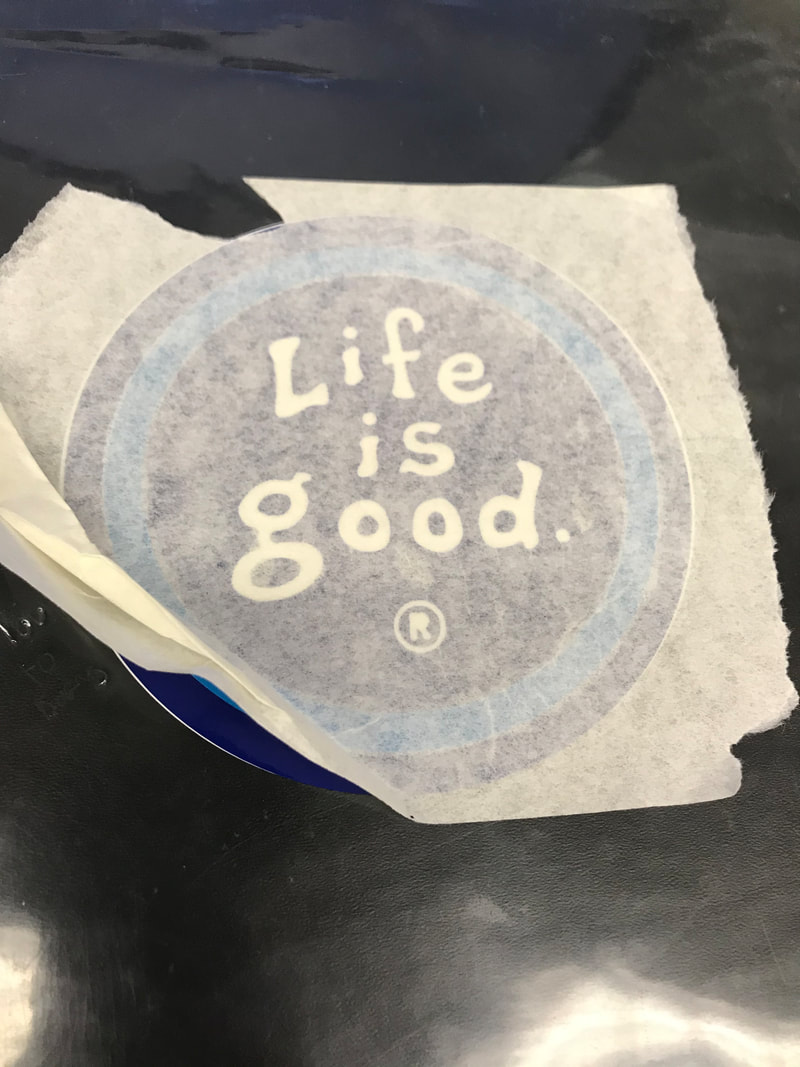
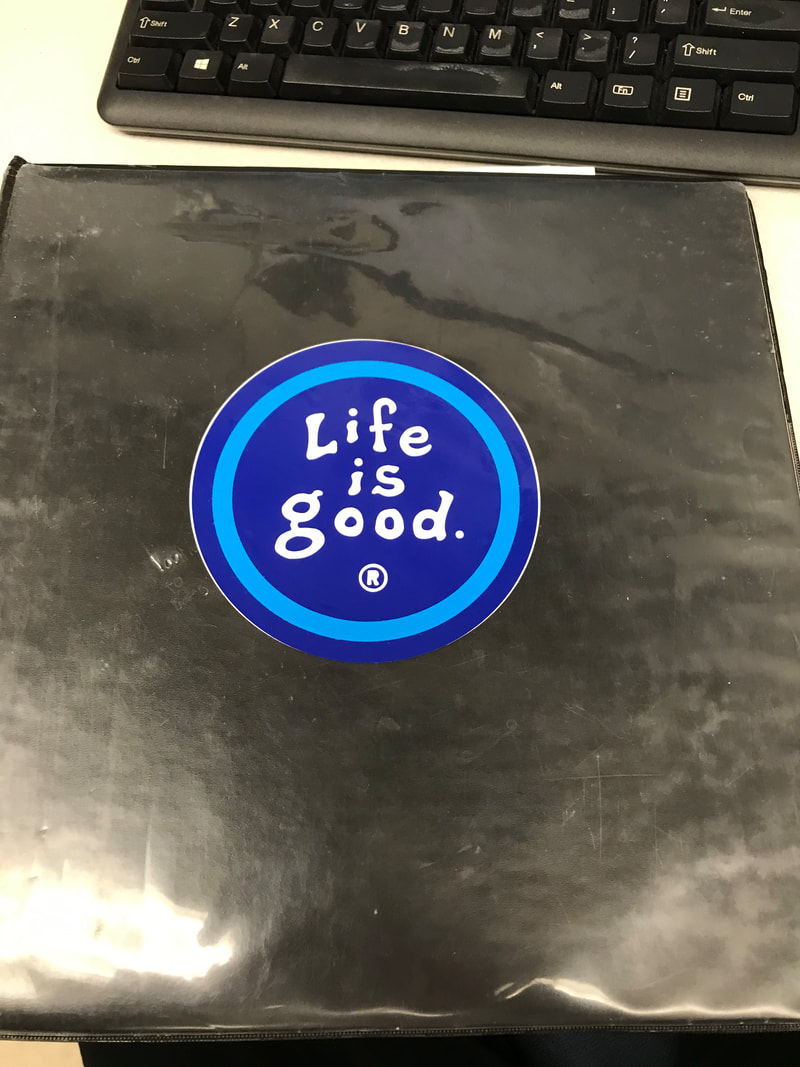
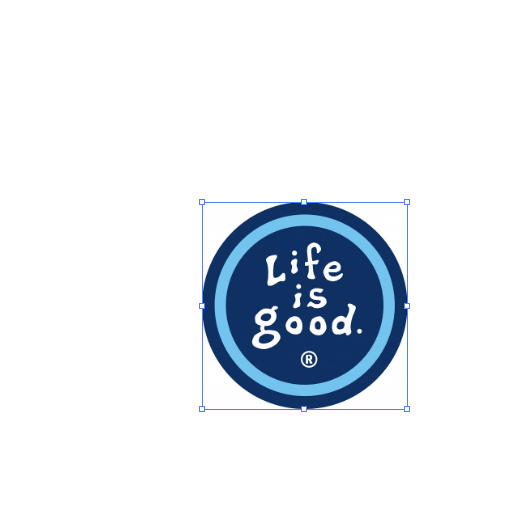
In this rotation I learned how to properly layer a vinyl decal so that it would look the way I wanted it too. I also learned that if I do some planning of my decal and think about how it's going to be put together before I actually put it together, then when I put it together it will be much easier and I'd save vinyl when cutting out my decal. For example I was originally going to cut out the inner and outer dark blue circle separately, but after thinking about it I just cut them out together which made it much easier when layering the decal and it saved some vinyl from going to waste. So in all I learned how to cut out, layer, and apply multiple layers of vinyl for a decal.
