
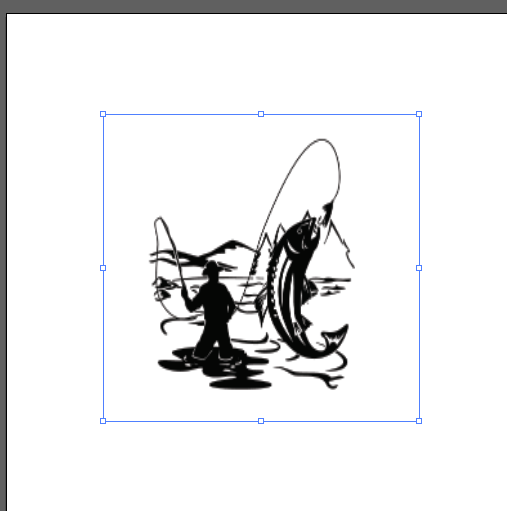
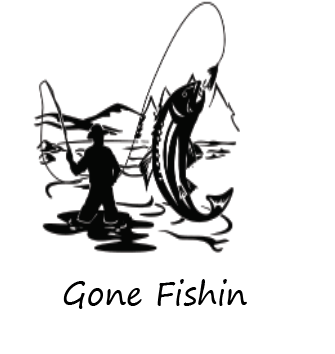
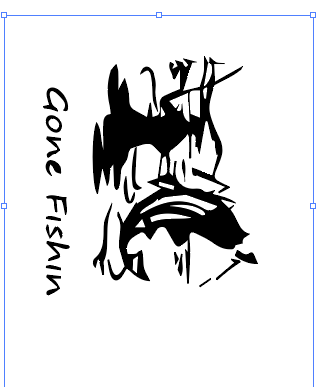
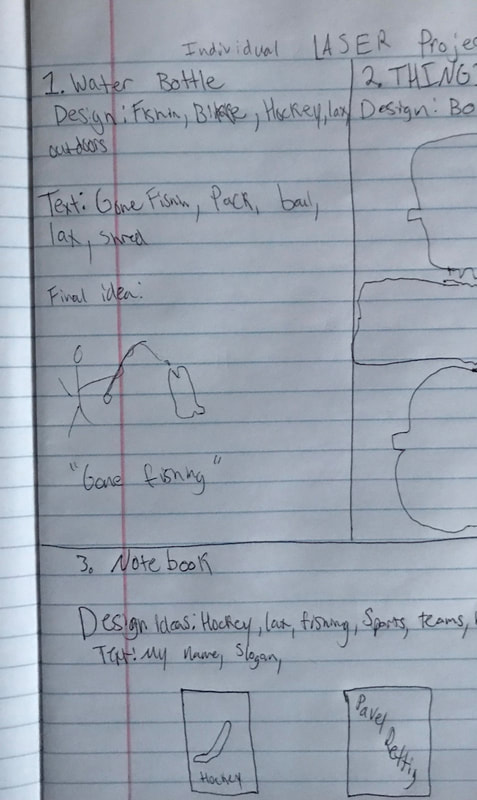
WATER BOTTLE: The first step I took was doing research and finding ideas for my image. I then planned out what I was going to do in my designer notebook. I then found an image from google and uploaded it to illustrator. Then I sized it to 3in x 3in, added the text and grouped it together. Then I rotated the image 270 degrees so it would engrave the correct way on the water bottle. I then changed the image to a vector image.
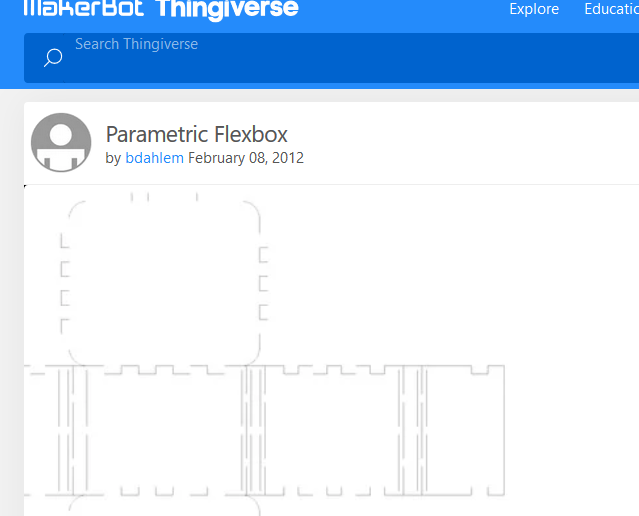
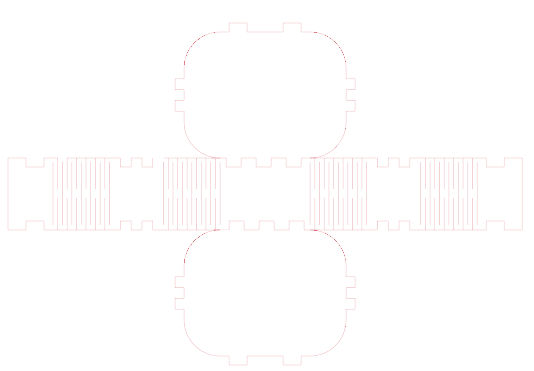
THINGIVERSE: First I went on to Thingiverse to get some ideas for what I wanted to make. Once I had an idea I planned it out in my designer notebook. I then found the box I wanted to use and transferred the file onto illustrator. Next I changed the stroke to .0001 and changed the stroke color to red, so that the laser would know to cut it out.
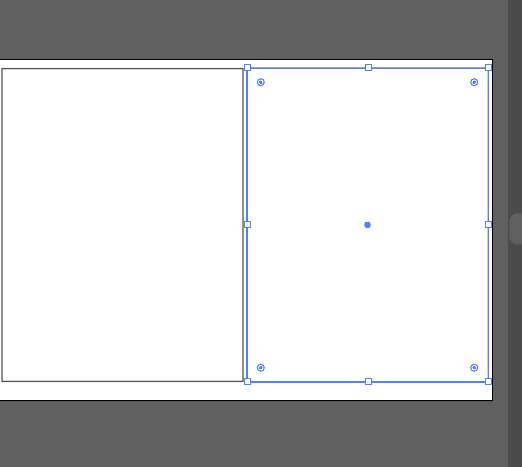
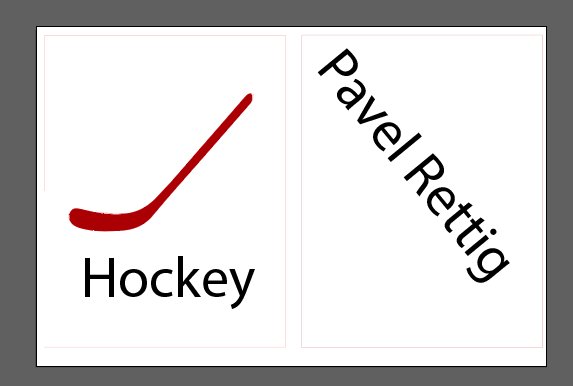
NOTEBOOK: First I planed out my notebook in my designer notebook. Then I set up my work space in illustrator to the correct dimensions and made the boxes stroke .0001 thickness and changed them to red. Next I got my image from google (hockey stick) and changed it to red so it would be cut out. Finally I added my text so that there would be engraving.
During this rotation I learned how to better use illustrator and became much more comfortable with using illustrator. I also got to explore thingiverse for the first time and see all the cool things on there. I also learned and got more comfortable with using weebly so that I could make this website. In all I was able to explore and become more comfortable with the illustrator software during this rotation.
During this rotation I learned how to better use illustrator and became much more comfortable with using illustrator. I also got to explore thingiverse for the first time and see all the cool things on there. I also learned and got more comfortable with using weebly so that I could make this website. In all I was able to explore and become more comfortable with the illustrator software during this rotation.
